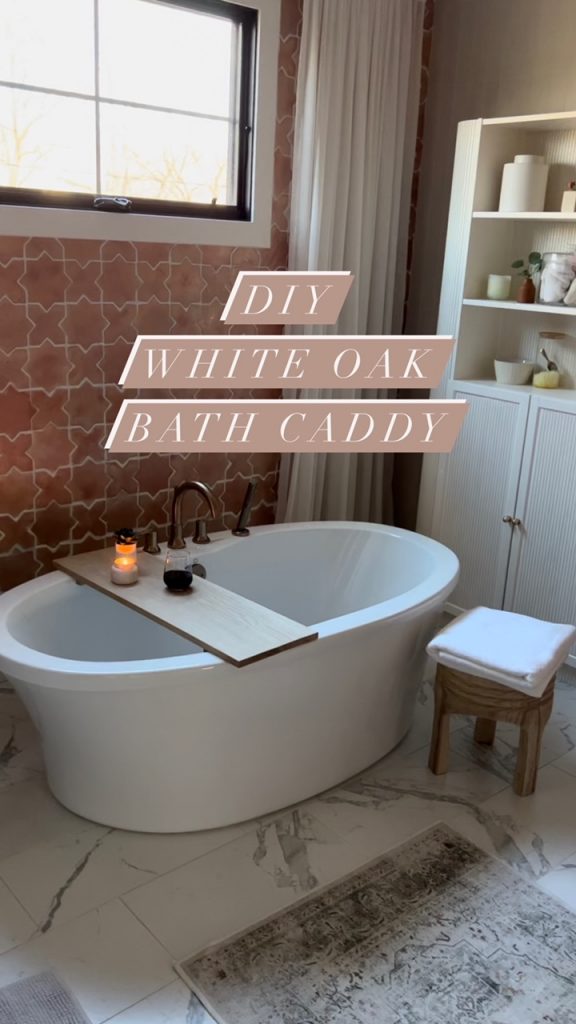
After making the bathroom so cozy with my DIY tiles, I was ready to soak in with even more coziness and set out to make a bath caddy for relaxing in the tub.
I trimmed 2 pieces of white oak to 36” in length, which was perfect for my tub but make sure to check yours!
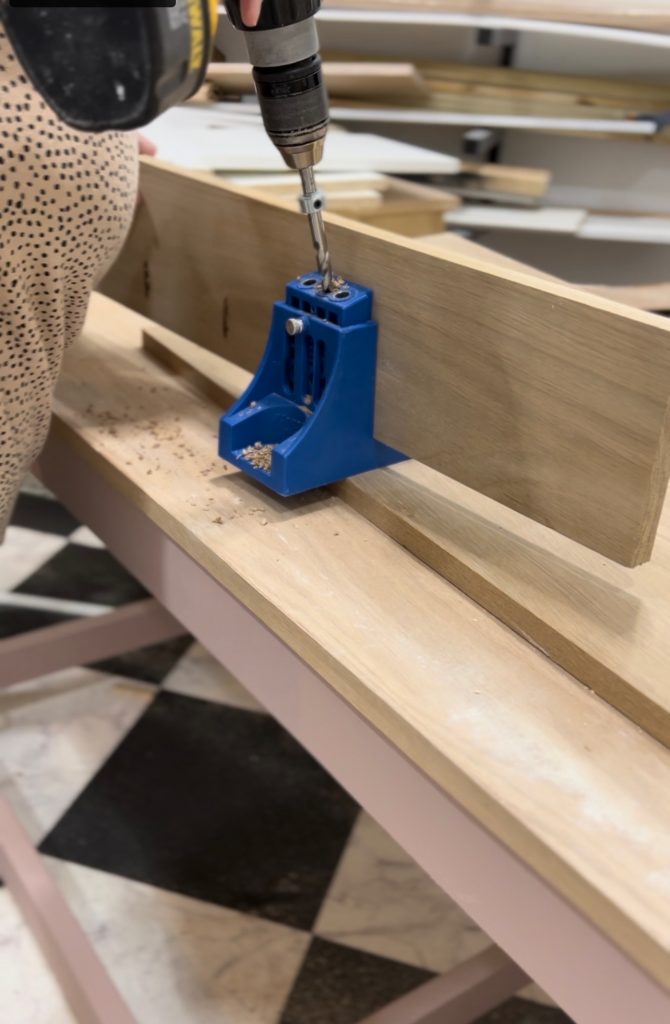
I drilled in 6 pocket holes on one of the boards using my Kreg pocket hole jig to be able to put the two boards together.
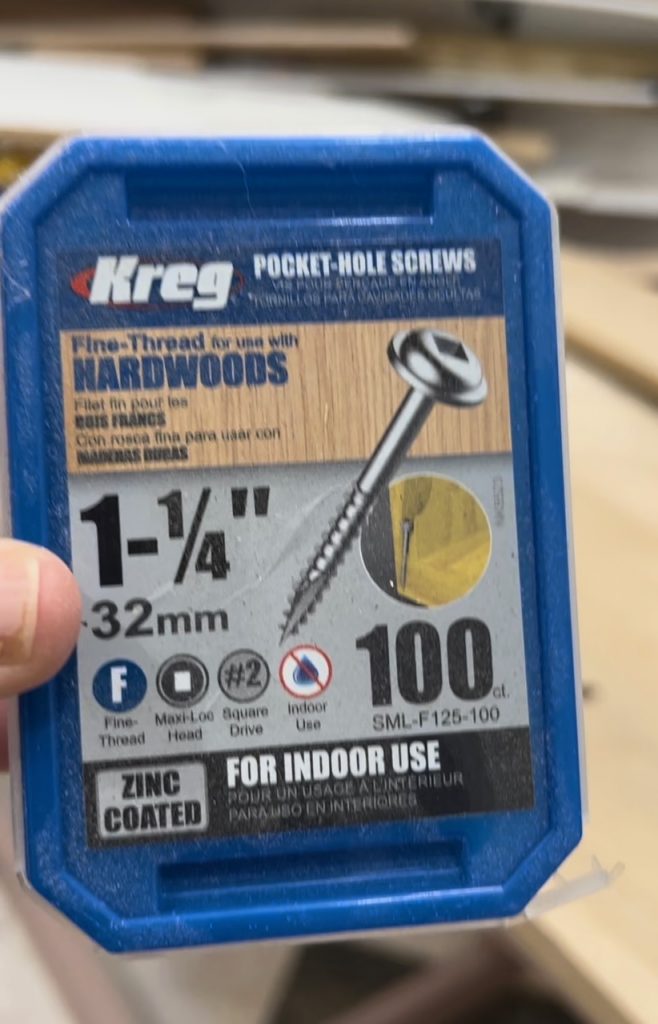
I secured the pieces together with Fine-thread wood screws in the pocket holes and then filled the seam with transparent wood glue.

In order to make the two pieces appear seamless; make sure to sand the transparent wood glue while it’s still tacky. Starting with a lower grit sandpaper and then working up to 220 or 320 will give you a smoother finish.
Then in order to keep the board from sliding on the tub surface, I added blocks on the side to the bottom of the board.
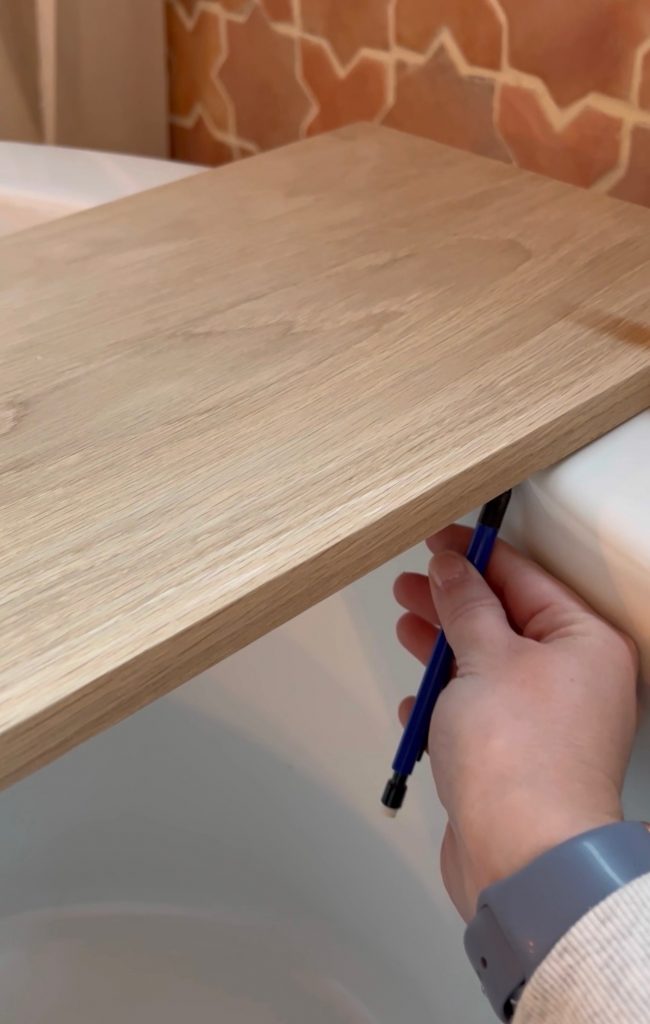
I simply put the board on the tub to mark where the blocks would need to be in order to prevent sliding. My tub sides are curved so I simply put the board where I wanted it and traced the shape on the underside with pencil.

Then added two small scrap blocks on each side to match the curve using wood glue. Did you know wood glue is stronger than nails?!
And then I had my super simple yet so functional DIY bath caddy!
