I built my daughter this cute little dress up rack as a birthday gift! I wanted her to have a place to hang all of her fun costumes and accessories, and to help keep her room tidy. It was super simple to build and made with so much love. Read my step-by-step tutorial below!
Starting with the base of the rack, I used 3/4” plywood that I cut down to 15” x 34”.
When making the height of the clothing rack, I based it off of Viv’s height. She is 42.5” tall so I decided to make the height 44”.
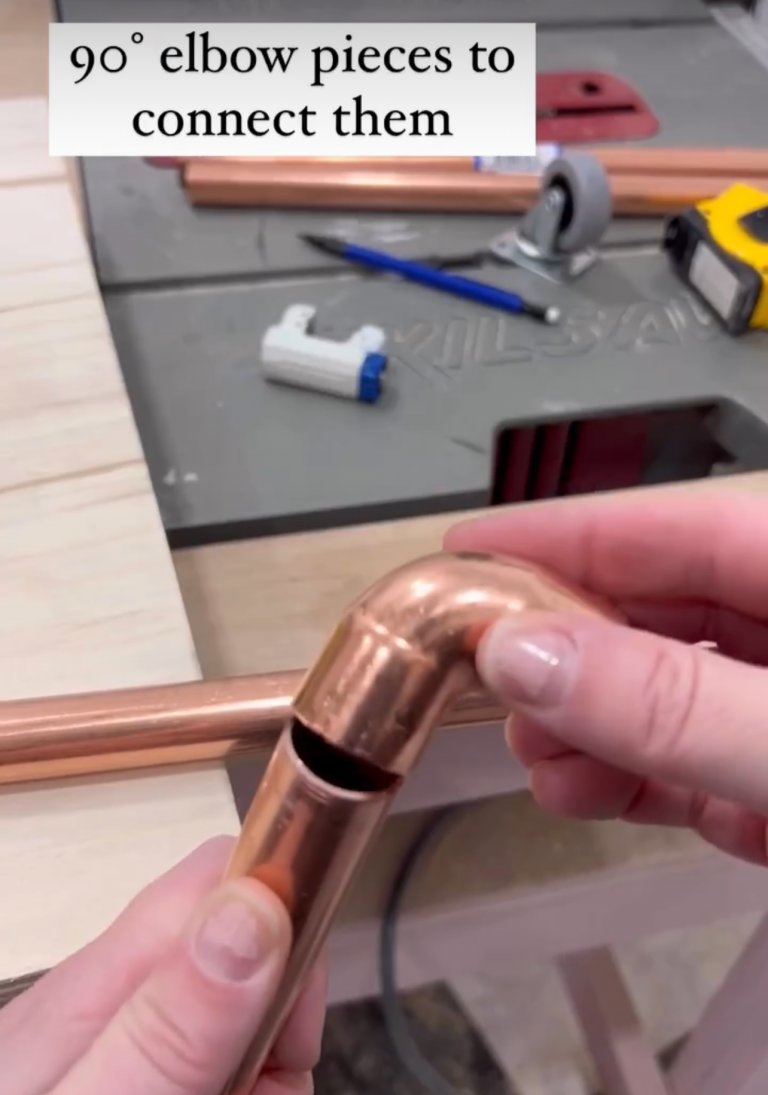
I bought copper pipe for the hanging rack and found a great little pipe cutter. All you have to do is tighten it around the pipe where you want to cut, then spin it around the pipe to score it a bazillion times. You will keep fighting it as you go. It does take a little work but it works!
To connect the two side pieces of copper pipe with the hanging rack across the top I bought two elbow pieces that bend at 90 degrees. You easily just push the pipe pieces into the elbow.
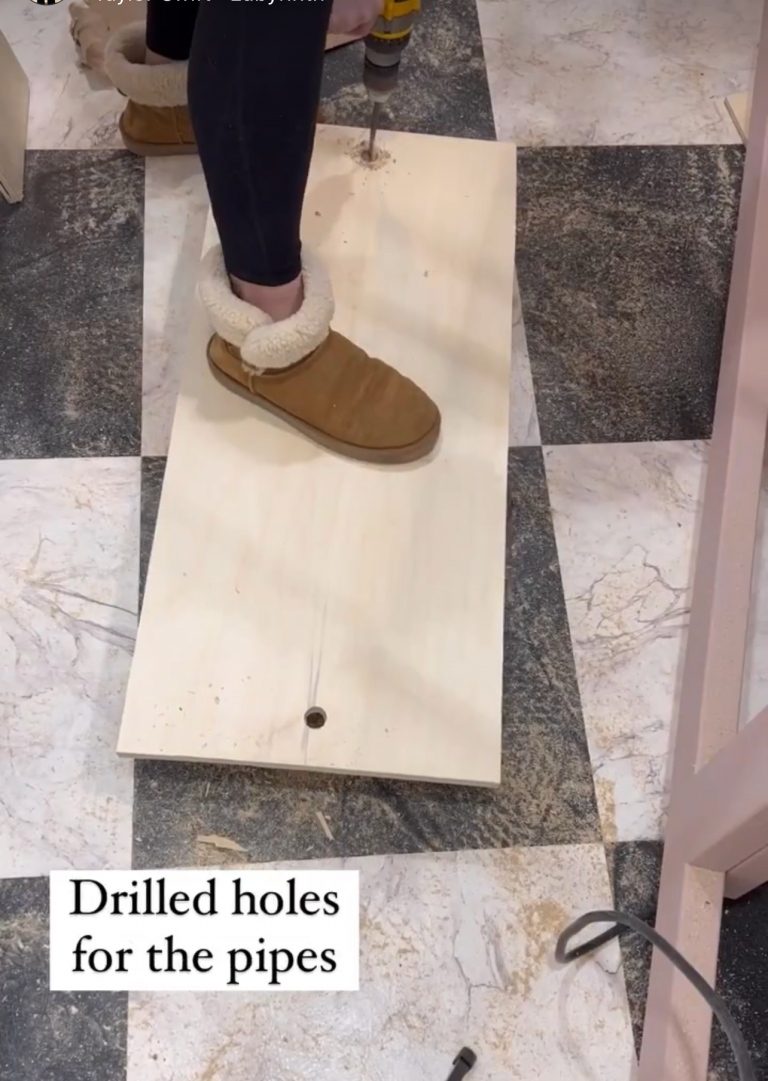
I used my 3/4 spade bit to drill in holes for the pipe on the plywood base. Since it is plywood, drilling through the bottom of the base peeled away some of the layers of plywood. To reinforce it, I just added a scrap piece of plywood underneath the hole with wood glue.
I knew I wanted to have caster wheels on the bottom to be able to move it around. So I added scrap pieces of 2x4s that I cut into small blocks so the casters could be screwed into the 2×4. I used wood glue to add the 2×4 pieces to the bottom of the base.
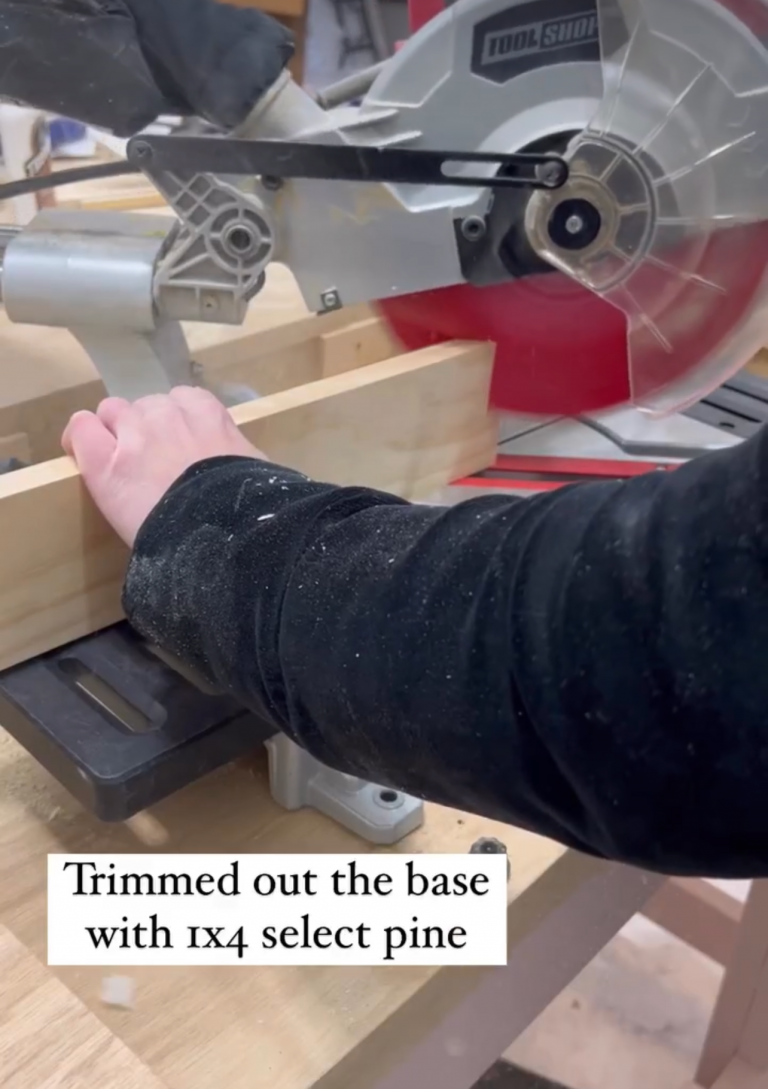
In order to make the plywood base look a lot thicker, I used a piece of 1 x 4 select pine to trim the sides of the base. The type of wood doesn’t matter as I’m planning to paint everything the same color.
In order to cut the 1×4 at a 45 degree beveled angle, you have a couple of options. You can put the piece of wood by moving your saw to 45 degrees and have the wood standing straight up along the fence. Or you can set your saw to 0 degrees then you can actually turn the saw to bevel it at 45 degrees (by moving the actual saw to the left). For this option you would lay your 1×4 flat against the saw. It’s all personal preference! I tend to feel like I have more control the first way I described, with the wood up against the fence but you can do whichever you prefer.
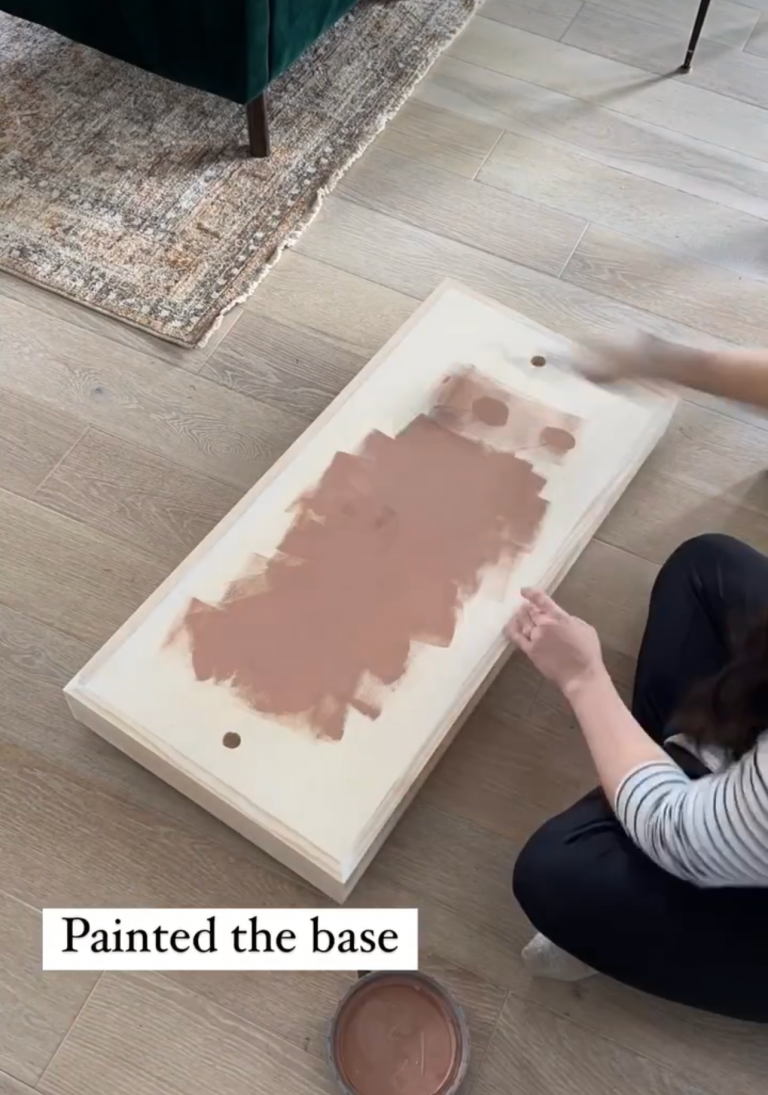
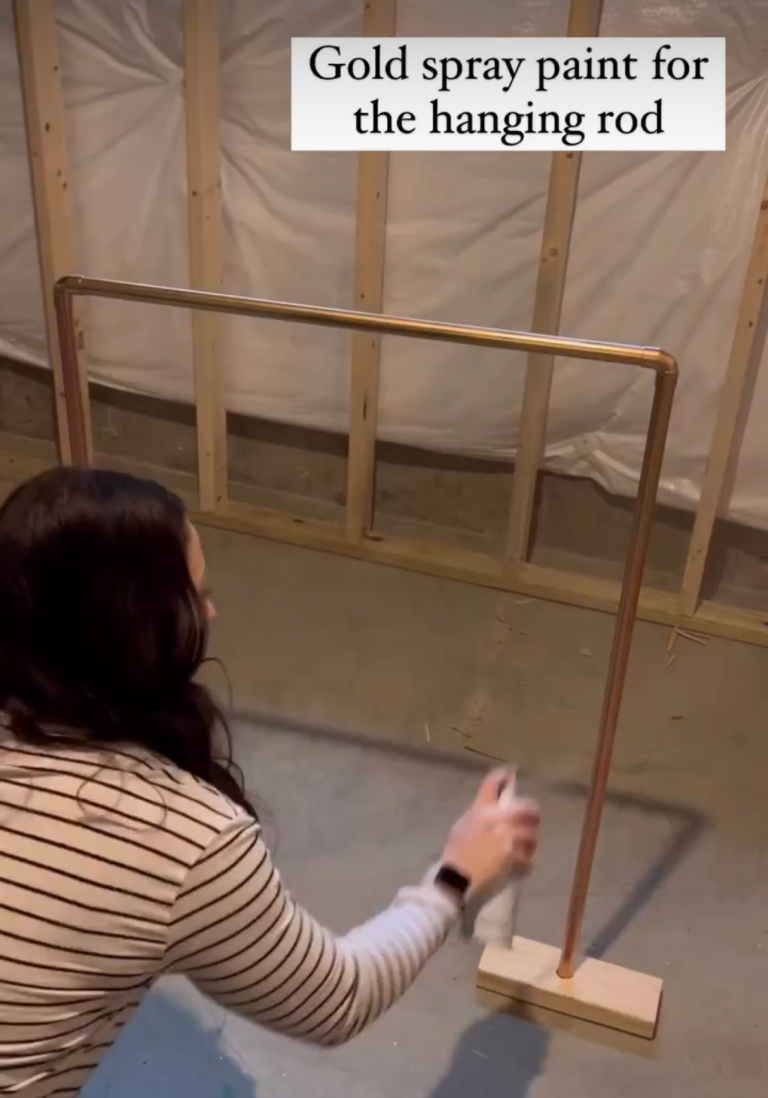
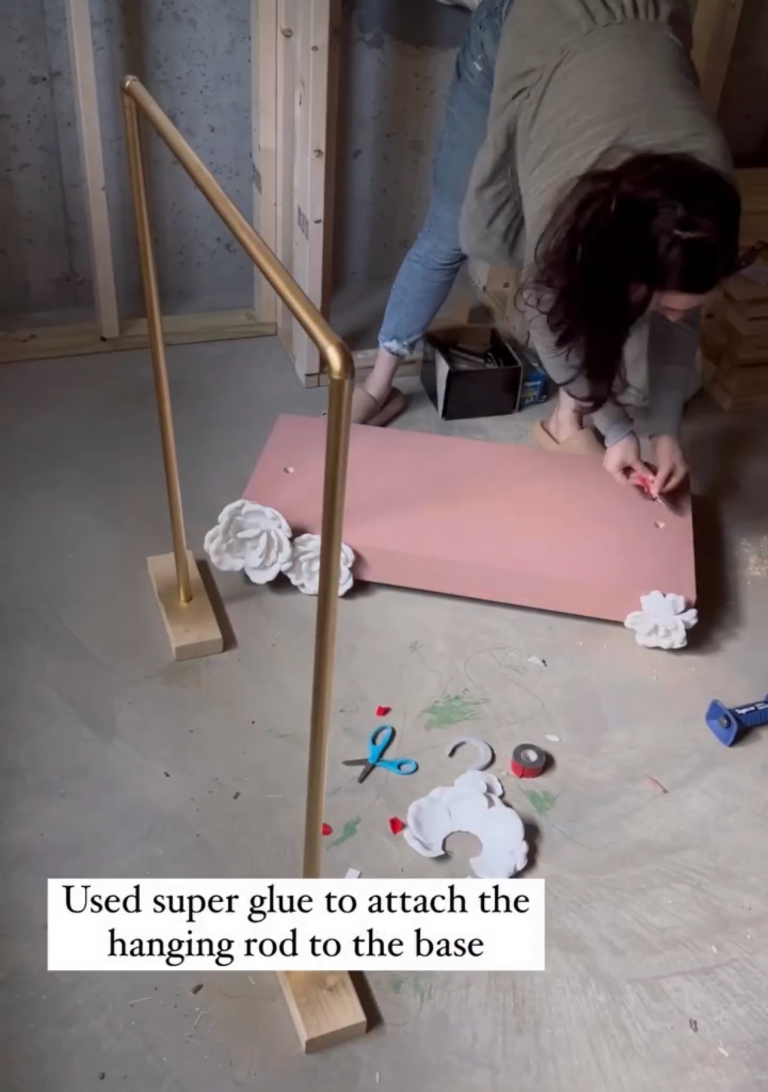
I painted the base and trim the same color as Vivi’s room, Mystic Mauve by @dutchboypaints. I spray painted the copper pipe with gold spray paint. I used super glue for extra adhesion of the copper pipe into the base. I added foam flowers for a little bit of detail.
The reveal!!! My daughter absolutely loves her new dress up rack! Now she can play dress up with her sister and has a place to display all of her fun costumes and dresses. Would you consider DIYing a gift? I think they are so special! Leave your comments below.
Check back for weekly blog posts so you stay in the loop with my current & future projects. Thanks for following along!