I had seen a couple of gorgeous projects two of my friends did and decided I wanted to recreate them but actually combined them together! My friend Kimberly at @avalanche_design_co did an incredibly acrylic painting for her daughter’s nursery. And then Lisa from @huntersforhappiness made some incredible flowers out of epoxy that she put around the trim of a floor length mirror. Here is my step by step tutorial on how to make DIY acrylic flower art!
I used these silicon molds I found on Amazon here. The first step is to mix the epoxy and then begin pouring into the mold. And here is where you get to learn from my mistakes! The epoxy begins to cure after 2 minutes, so I had tried to mix together too much epoxy and while mixing for that long, it began to cure before I poured all the areas I wanted.
My second mistake during my first time around was pouring too much into the mold. When the epoxy is filled just to the brim of the mold you want, that’s perfect! If it overflows, the pieces will join together.
I proceeded to repeat this process hundreds of time to make the amount of flowers I wanted.
Next, grab a sheet of acrylic. Peel the backing off and begin dry-fitting where you may want the flowers to sit. I didn’t have a specific layout when I was doing this other than just making sure I separate the biggest flower pieces and fill the space in between with smaller flowers.
I used loctite to adhere the epoxy flowers to the acrylic.
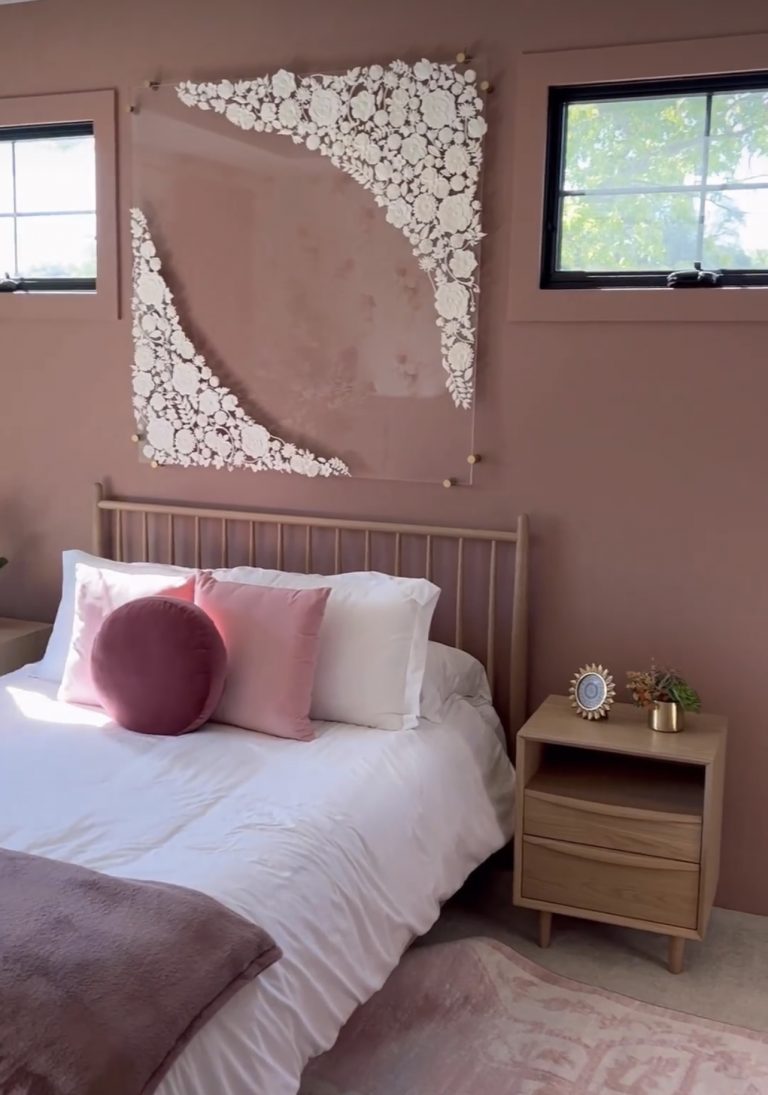
To hang the acrylic sheet I used these super easy to use edge grip mounts I found on Amazon. I used 60 lb toggle bolts to hold the mounts because the art is super heavy!
The reveal! My daughter absolutely loves it. This piece is very timeless and beautiful, and is something that she can keep in her room as she gets older. Would you ever try a DIY project like this? Please share your comments below. Products are linked on my Amazon Storefront!
After I finished this project, I then got set on updating Vivi’s room so that it would be ready for this new masterpiece. Check out how I updated her ceilings here. Check out the full room update here.
Check back to stay up to date with current and future projects. Thanks for reading!